Support
TutorDesk seamlessly connects all your tutoring needs to deliver a professional experience for you, your tutors and your students and is suitable for small one tutor businesses to large multi-tutor businesses.

Admin Portal
Getting Started
– Login
– Create Levels
– Create Classes
– Register Students
– Assign Students to Classes
– Share Messages/ Notices
Tutor Portal
Getting Started
– Login
– Lesson Plan
– Subject Room
– Sessions
– Virtual Class Room
– Notices
– Share Messages/ Notices
Student Portal
Getting Started
– Login
– Join the Virtual Classroom
– Assessment Submission
– Online Content with Lesson Plan
– Notices
Admin Portal User Manual
TutorDesk seamlessly connects all your tutoring needs to deliver a professional experience for
you, your tutors and your students and is suitable for small one tutor businesses to large multi-tutor businesses.
Getting Started
Login
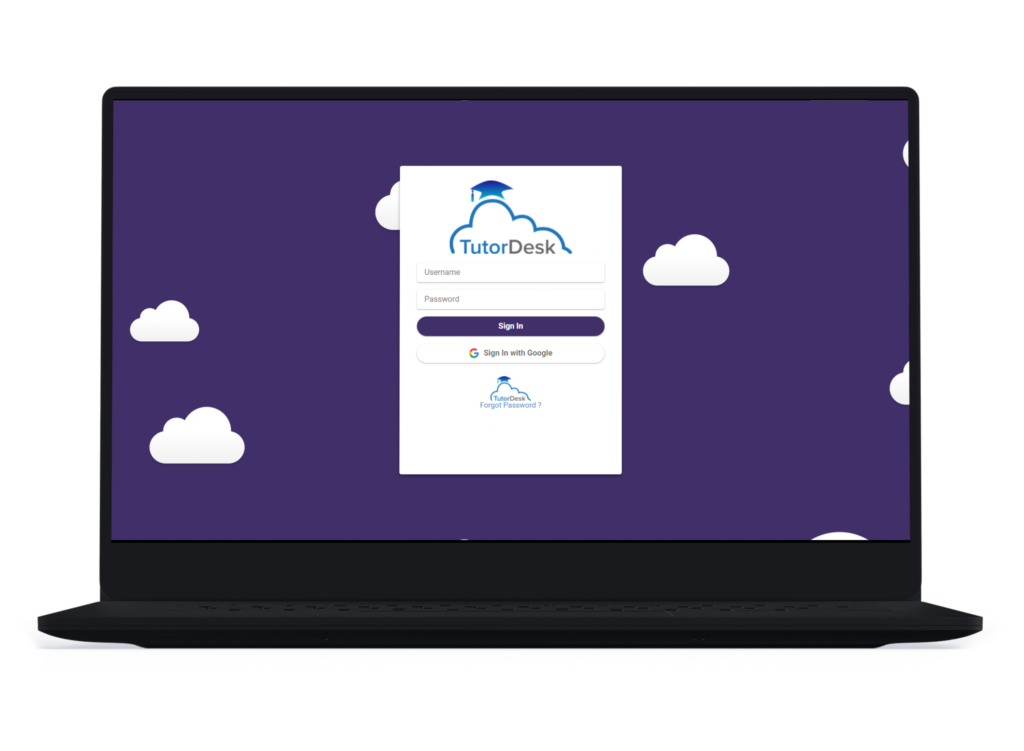
1. Open a web browser on your computer. Google Chrome is preferred.
2. Go to https://thetutordesk.co.uk and click on Sign In.
3. Click on Sign in with the Sign in with Google button or with the given username and the password.
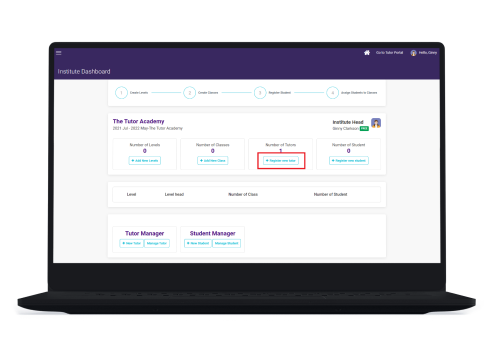
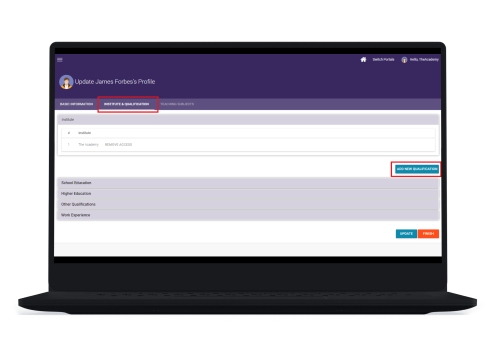
Enter all the required information of the Tutor and click on Save button. Then you will be directed to the Institute & Qualification tab.
After adding Qualification click on the Update button.
You will be directed to the Teaching Subject tab. There you can select the relevant level and mark the subject. Then click on the Finish button.
Create Levels
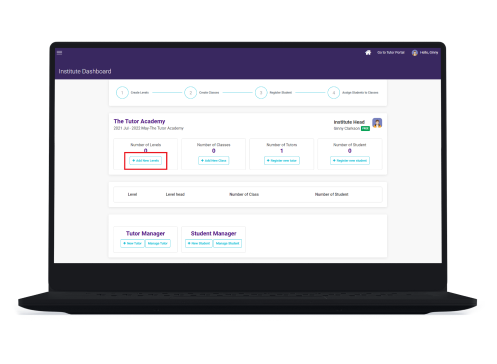
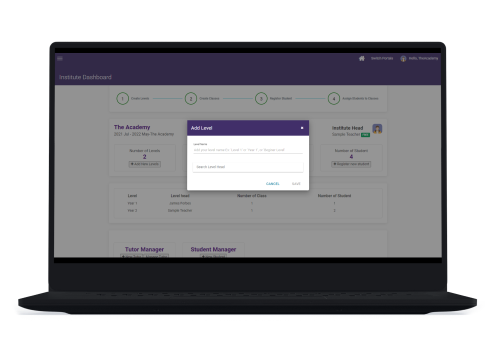
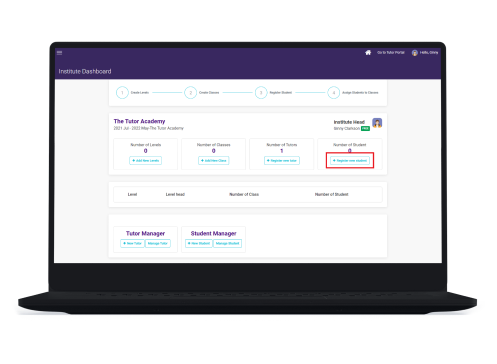
To start the journey in TutorDesk, first create a new level. Click on the + Add New Levels.
Register Students
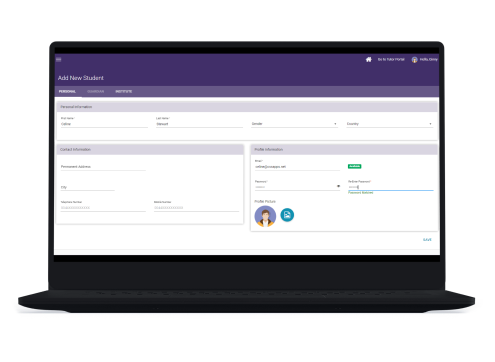
Click on the + Register New Student button. Enter your student’s details (required fields) in the basic information tab and click on Save button.
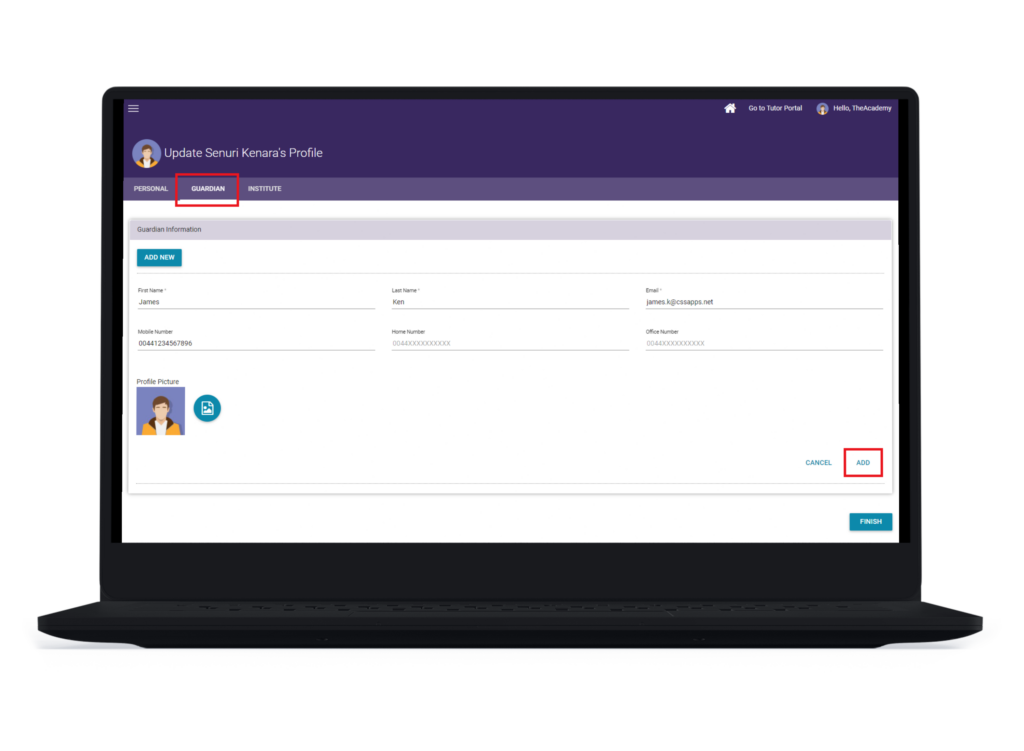
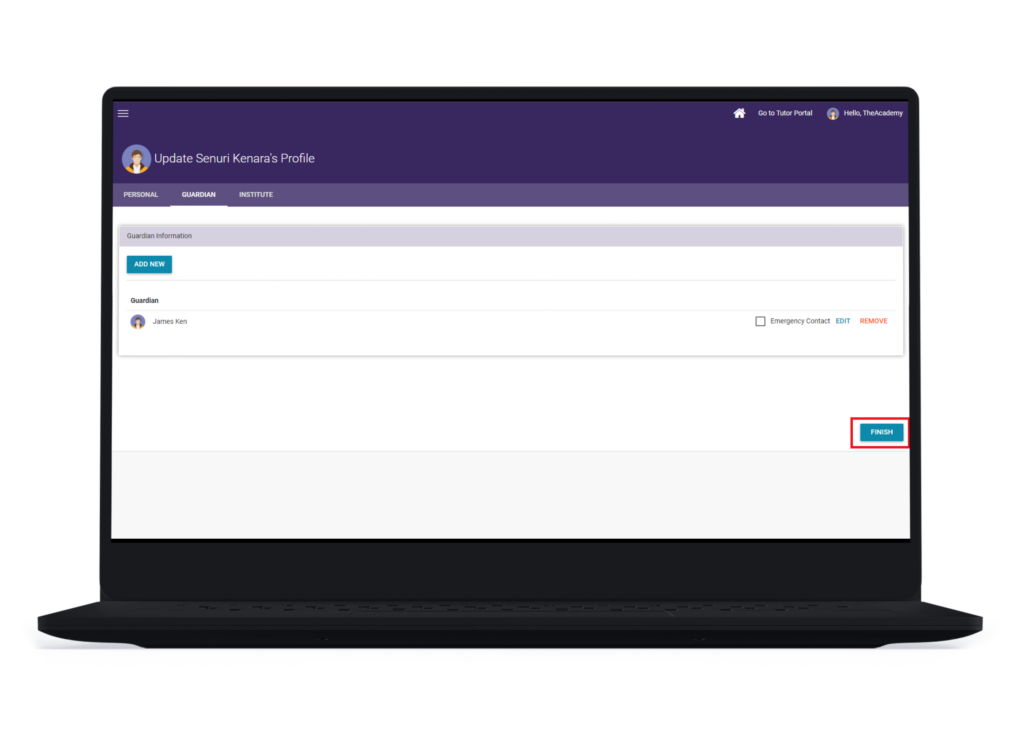
Then, you will be directed to the Guardian tab. Click on the Add New button. Enter required Guardian details and click on Add button.
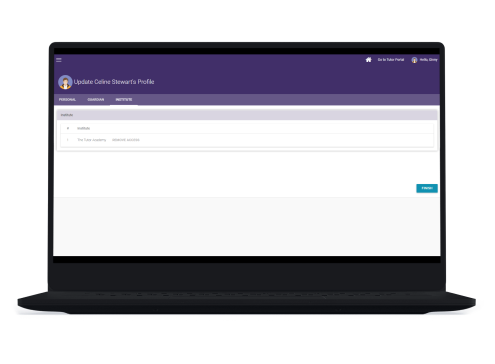
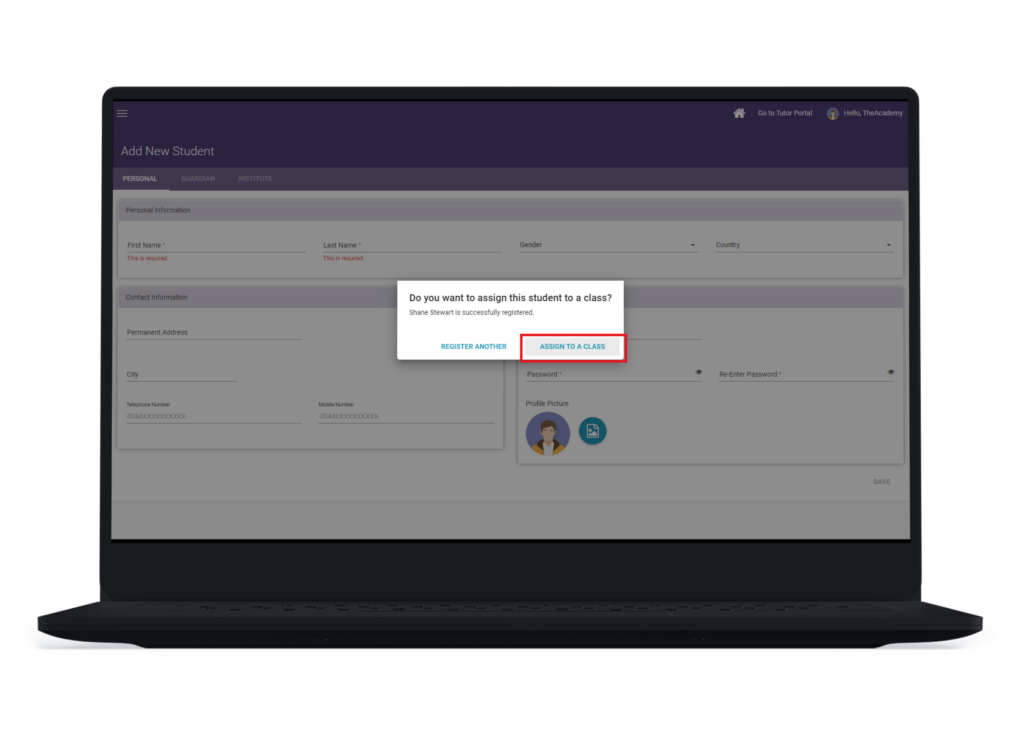
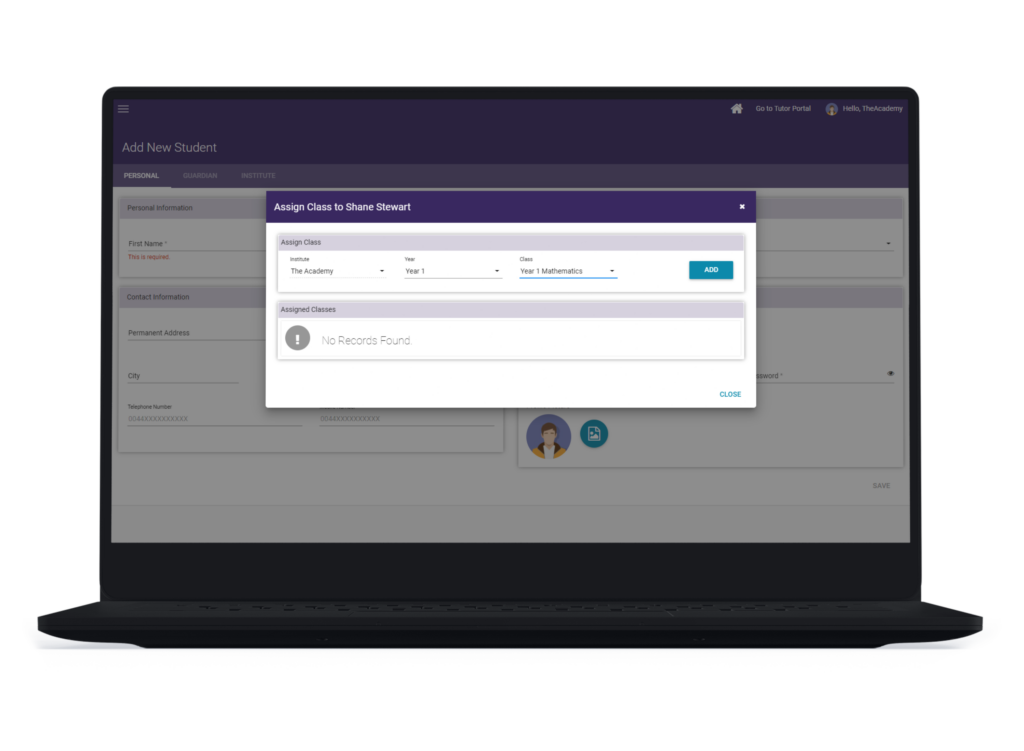
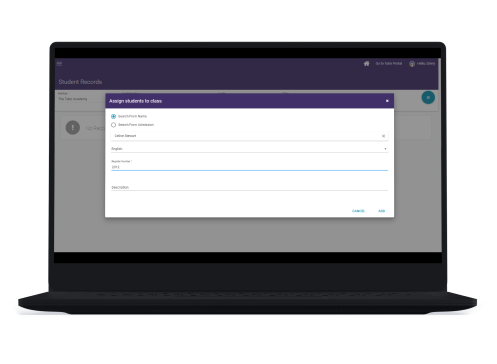
After clicking the Finish button you will get the below pop up to assign the student to a class. Then click on the Assign to a class button.

