Support
TutorDesk seamlessly connects all your tutoring needs to deliver a professional experience for you, your tutors and your students and is suitable for small one tutor businesses to large multi-tutor businesses.

Institute Registration and Subscription User Manual
TutorDesk seamlessly connects all your tutoring needs to deliver a professional experience for you, your tutors and your students and is suitable for small one tutor businesses to large multi-tutor businesses.
Sign Up to TutorDesk
1. Open a web browser on your computer. Google Chrome is preferred.
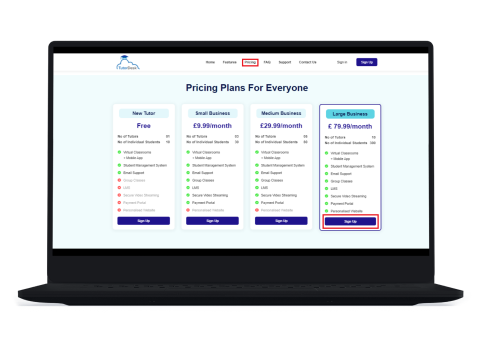
2. Go to https://thetutordesk.co.uk and click on Pricing.
3. Choose a pricing plan and click on the Sign Up button under the respective plan.
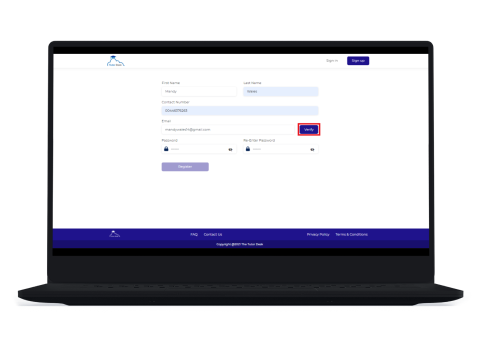
4. Enter required details and click on ‘Verify’ to verify the provided email address. A verification code will be emailed to the provided email address.
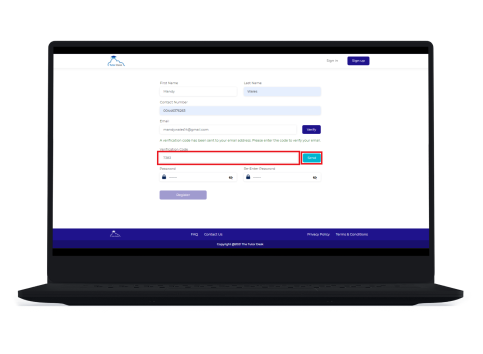
5. Enter the verification code sent to the email address and click on ‘Send’. When the message ‘Valid email address’ pops up on your screen, click on ‘Register’
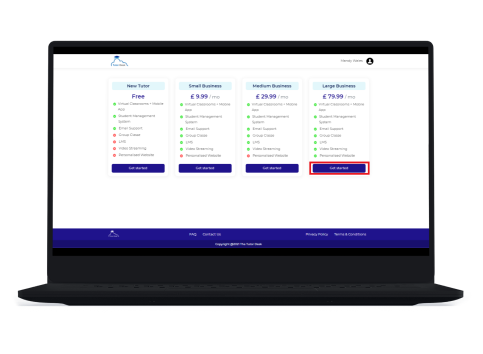
6. You will be redirected to your created account. Here you can view all available pricing plans. To confirm the pricing plan of your choice, click on ‘Get Started’ below the respective plan.
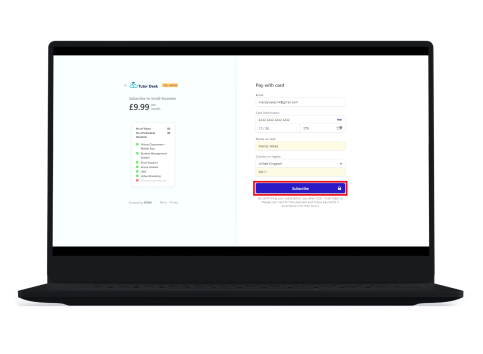
- Based on the pricing plan you selected, you will be redirected to the payment gateway. Enter your card details and click on ‘Subscribe’.
If you have successfully subscribed, you will be redirected to a confirmation page, confirming your subscription.
From this confirmation page you will be redirected to the ‘Institute Registration’ page. You can now register your institute.
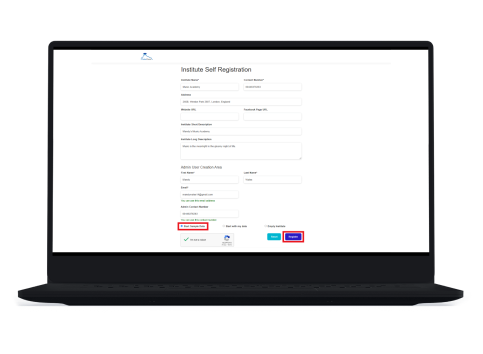
8. Enter your institute details in the registration form. You can register your institute in one of the following options.
a. Start with Sample Data
If you choose this option, TutorDesk will create your institute with a set of sample data, so that you can view it and understand how TutorDesk works and add your own data later.
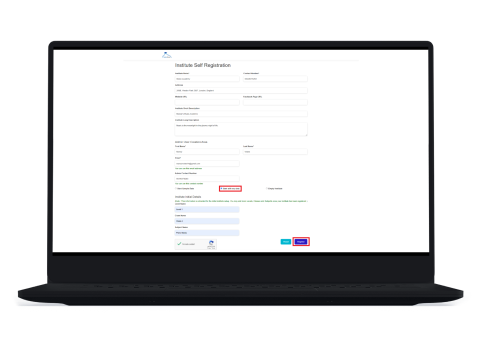
b. Start with My Data
If you choose this option, you will be able to add your own data in the registration itself. The institute will be created with this data and you’re good to go. You can add more data once the institute is created.
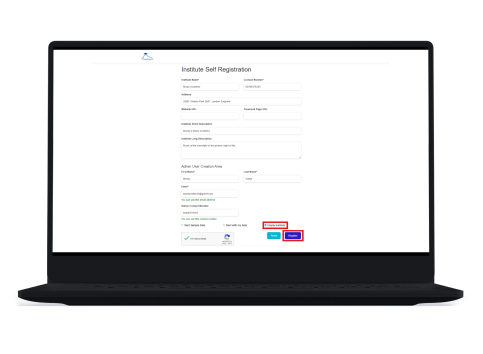
c. Empty Institute
If you choose this option, an institute will be created with no data. You will have to add your own data following the few simple steps shown on the dashboard when you login.